- First, type command + shift + 4 (the mouse pointer turns into crosshair).
- Then type the space bar (the crosshair turns into a camera icon).
- Hover the mouse pointer (a camera icon now), to highlight the chosen window.
- Finally, hold the option key and click.
This sounds like a lot of steps but it becomes muscle memory pretty quickly.
How is that an essential function? My mom has never needed it in 20 years of using Macs. And when I want to know about hidden files, I pop open a terminal and ls -la.
I have a lot of internal thoughts about why I like what I grew up with (particularly with respect to discoverable keyboard shortcuts), but it's just not worth the mental energy of exploring that with internet strangers. The bottom line for me is that a decade on, I still split it between a Macbook for work, Windows desktop for home/creative/gaming, and if I could reasonably work without MacOS I would, but I can't.
(It's cmd-shift-g to get the text entry to appear, or simply forward slash to get it to appear with the slash already entered. Also, it says "Go to Folder", but if you direct it to a file, it will navigate to the folder the file is in and also select the file)
For showing hidden files and file extensions, there's a Terminal command you can run to permanently set it for every file. Of course, since it's only exposed through some command line utility, I forgot what it was and would have to search again.
So sad...
I'm fairly certain, it's in the menu bar too
Then let you adjust the selection area in relaxed way
I always make sure to enable "Remember Last Selection", which is great when you're taking repeated screenshots of the same area. Once you've created the selection area you'll get exact sizes every time.
Also there's no need to hold down Option when clicking. You can however hit Esc to cancel the screenshot action.
Holding option seems to remove the gradient shadow of the application window in the screenshot. Not needed, but it’s better in my opinion.
in this way, folks (e.g., product managers) can quickly compose a mockup using components from a pre-existing UI without opening up photoshop/pixelmator/affinity.
Combination of CTRL+OPTION works too.
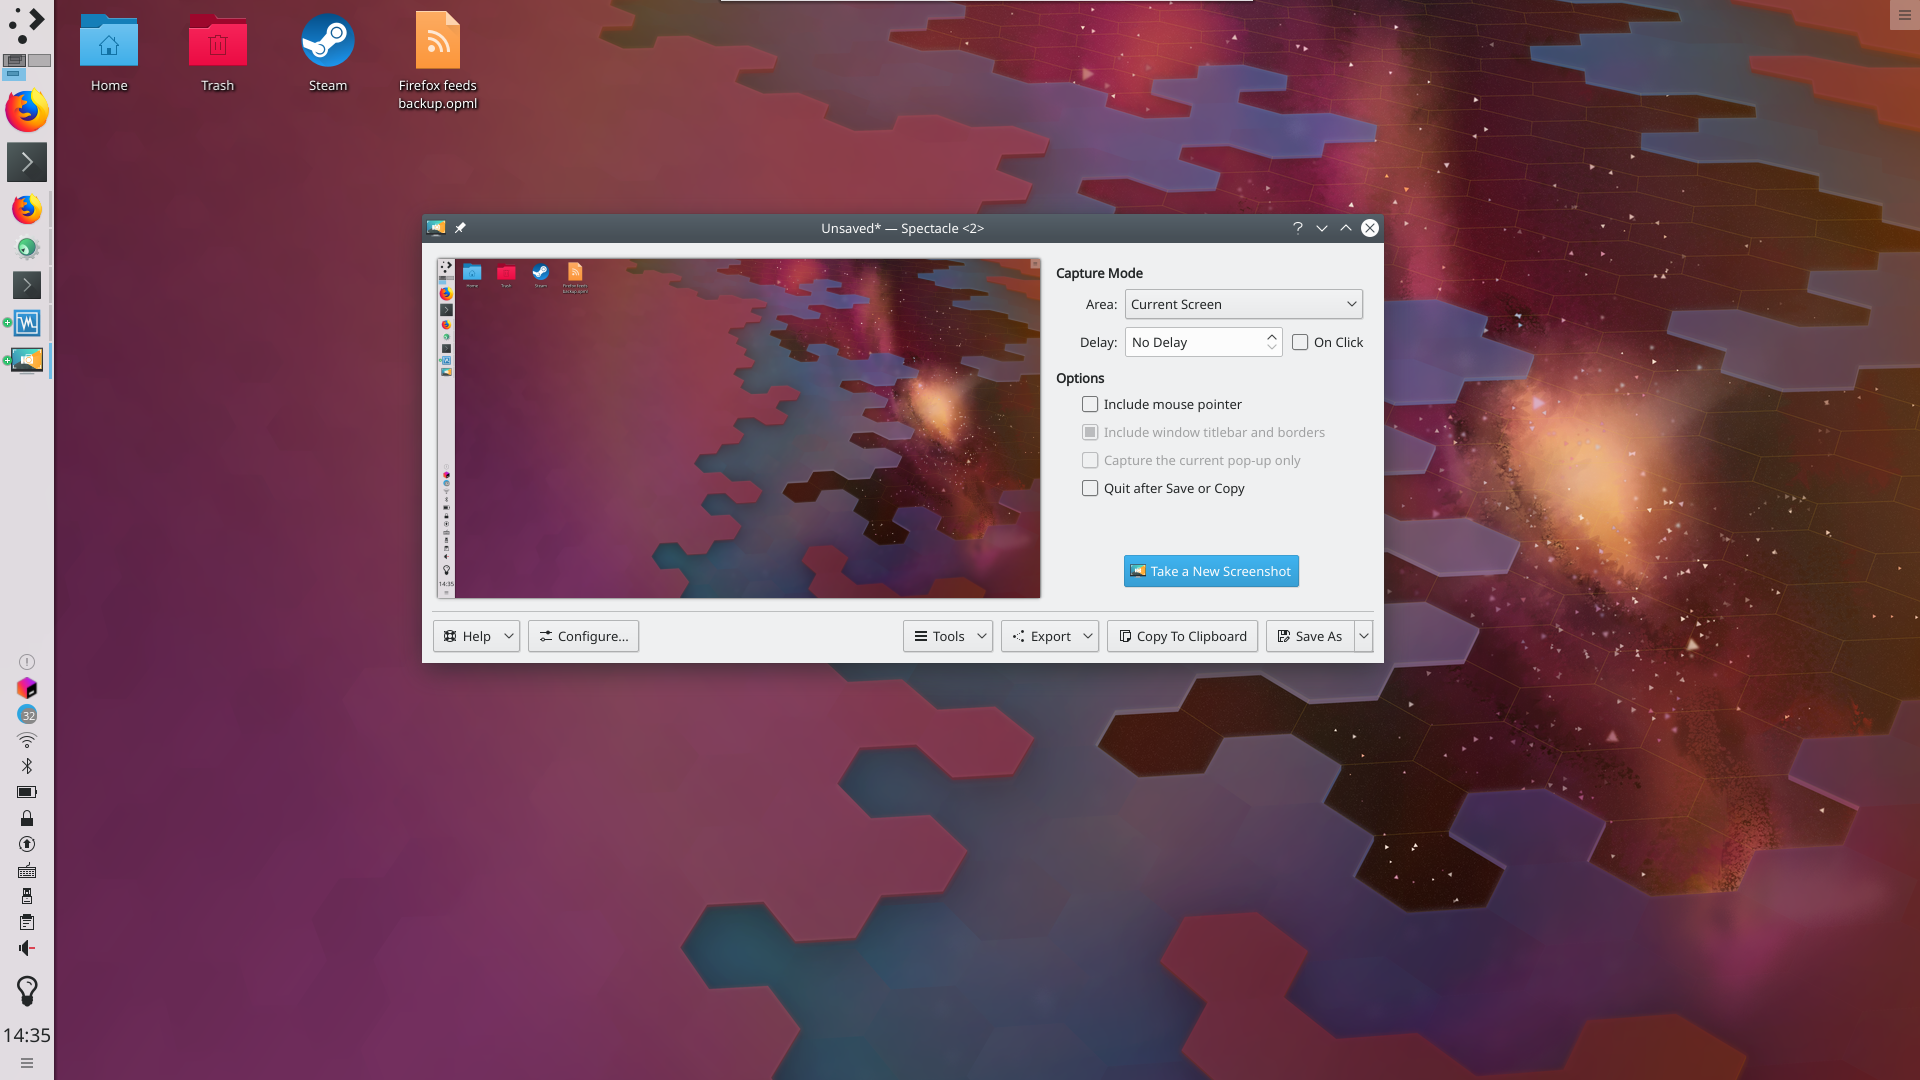
https://userbase.kde.org/images.userbase/4/4c/Spectacledefau...
The default kde screenshot app just has simple dropdown menus for all that. Is command+$, space, option+click really better than PrtScr, click?
https://i.postimg.cc/zX5f4fqN/1.png
Makes it easier to find visually.
Edit: Of course I was 1 google search away from the answer: https://support.apple.com/guide/mac-help/change-icons-for-fi...
Sure, it's cross platform, but I don't care about that. It works better for me on macOS than the native facilities, and provides much better post-screenshot editing.
If I want to do video capture, the industry gold standard here is Camtasia, also from TechSmith.
I know the standard provided functionality, and I just don't want to be bothered.
bruh, what, god tier shortcut here
And no "read the manual" isn't it. From certain scale the manual should be out of the window and UI should accomodate for people to learn while using it.
I think macos does this better than pretty much any other desktop OS. Granted the bar isn't very high.
Another great thing is they’re generally quite consistent across apps, so memorizing one is usually applicable system wide. And another great thing is that if you don’t like the defaults (or have a menu item you wish had a shortcut in the first place), they’re almost always configurable.
(the interface of which can also be reached via Cmd-Shift-5, allowing video recording and much more)
Holding CTRL is just a... well... "shortcut" for that.
1) Monosnap (freemium) - https://monosnap.com
2) Cleanshot ($29) - https://cleanshot.com
Both tools also include large amount of extra functionality for taking screenshots and recordings.
It’s truly excellent and feels like a natural extension of the built-in functionality.
Screenshot section to file, click on preview before it disappears, markup on iPad with Apple Pencil, copy to clipboard, paste to Docs/Slack/GitHub, delete file.
I really wish I could eliminate the temporary files in this process.
Do you happen to know if Cleanshot can do iPad annotation?
After `brew install pngpaste tesseract` (the latter is a dependency of the great OCRmyPDF tool btw), you can set `alias ocr="pngpaste - | tesseract -c debug_file=/dev/null stdin stdout | pbcopy; pbpaste"`.
I like having this alias better than macOCR because the workflow feels more ergonomic: You first cmd + shift + 4 to select text and then type `ocr` with the result being printed to stdout and being saved in your clipboard. With macOCR I have to go to the terminal first to initiate the process, then go back to what I want to screenshot etc.
[1]: https://flathub.org/apps/details/com.github.tenderowl.frog
It’s so blisteringly effective to grab a portion of the screen, draw on it, copy the whole thing again and paste it to a coworker in chat or a task tool.
I recently discovered that with my trusty Logitech G203 I can write cursive on my images with about the same legibility as I can on a whiteboard. Very pleasing.
* left click to capture full screen
* hover over a window and left click to capture a specific window
* click and drag to capture a region
* right click to cancel
There's also annotation and drawing tools directly in the screenshot mode. Imo this is way better than how macOS opens the editor afterwards. Because for the times you don't need to annotate, you still have to close the preview window. In other words:
MacOS
* annotation flow: start => capture => annotate
* normal flow: start => capture => close preview
ShareX
* annotation flow: start => annotate => capture
* normal flow: start => capture
ShareX also supports a ton of different other workflows. After capture it can automatically add the image to your clipboard, or open it in an external image editor, or upload it to imgur and add the link to your clipboard, etc etc.
(On Linux the closest thing I have found to ShareX is ksnip [2]. Takes a bit of configuring, for example I recommend disabling tabs, but overall it's good enough for me)
You don't need to memorize any shortcuts on macOS to take a screenshot. Just open up "Screenshot.app". It's in /Applications/Utilities/
That's a single entry point to all of the screenshot features as well.
CMD+SHIFT+5 also gives you clear options to "tap to do X" like you say.
Annotation directly yes, that is nice. And I know some people dislike the "floating screenshot in corner" feature of macOS, but if you allow it to start you get instant annotation right after taking a screenshot without having to open the IMO clunky preview app.
There are also other 3rd party tools for annotation for macOS that can pipe together flows, probably as advanced to what you mention.
> Using ShareX on Windows is like night and day.
Because you are literally comparing a dedicated tool to a built in implementation (which I kind of feel you have not explored all that well lately).
You can make it even faster by cutting out the Preview step. When the thumbnail of the screenshot appears in the lower-right corner of the screen, click it, and then you can use Markup to annotate the image right there, and then share it as needed.
Since I don't have your Logitech, I don't know if this method will support your hand-writing step. But it's worth a try, and is still useful for drawing circles and arrows and things on screenshots before firing them off to a coworker.
My go to workaround is to screenshot, annotate, screenshot the annotation tool into clipboard and paste that. (I know)
What's this app called? I'm embarrassed to admit I can't tell, even after trawling activity monitor.
Often just applying lossless PNG optimisations using a tool like https://imageoptim.com/mac will sometimes save a large percentage, although it can take a minute or so for the tool to finish.
With translucency and soft gradients everywhere I’m not sure how true that is anymore.
It can encode the difference to the previous pixel either up or above (or some combination). In purely horizontal or vertical gradients that's just as efficient as encoding constant color (and in fact, the Wikipedia page shows an example). For gradients in other directions, it depends on how homogeneous the slope is (because it will zip the diff to the previous pixel, i.e. the slope).
Also, I was surprised one common hack I used to see talked about a lot not dicussed given they delved into changes you can make on the CLI: you can change the default location (Eg to a "Screenshots" folder) instead of the default of cluttering the desktop
In terminal type "defaults write com.apple.screencapture location" where "location" is a path of your choosing.
(I'm fond of nesting a "screenshots" folder in the user directory pictures folder.)
These features should be easily discoverable.
But maybe I'm missing a trick. Maybe there's a deliberate effort in Apple to make only a minimal viable subset of features easily discoverable. Maybe some features have their documentation hidden a little deeper. And maybe accidental discovery gives Mac users a little dose of feel-good neurotransmitters that keeps them passing over the odds for the products.
Honestly, it's a mystery to me.
Anyone from Apple product design here? Why is function discovery in Mac so opaque?
I just thought of the recent iPhone my partner upgraded to. No button. It's just a blank slate. Tap? Long press? Swipe down? Swipe up? Aah swipe up!
I swear, I find this shit absolutely infuriating.
As to why "Mac users are so delighted when they discover previously-unknown features"... I think it's partly because Apple (usually) does a good job at adding features. It often feels like they've refined the OS, not like they've simply jammed more things in.
Also, I think it's in part because when you get used to using a particular version of the OS, you might get used to not having certain features built into the OS. So when you discover that something you had previously been relying on a third-party app for is now built in to the OS, it's a pleasant surprise. While this isn't actually a Mac-specific thing, I do feel like Apple puts a lot of features into their OS that other OSes rely on apps (or even third-party apps) for, so maybe mac users might have more occasion to discover that something is now built in?
Apple’s trick is to make powerful things seem simple. They do this by, basically, hiding a lot of features. This makes it easy for unsophisticated users to get going. And power users are willing put in the effort to learn more (that’s what defines a power user).
Apple is hardly alone in this. The “full-page screenshot” feature of Chrome is hidden like 3 clicks deep inside the inspector.
You can configure the mapping of cmd-shift-4 (or whatever it is) to the screenshot function, within System Preferences. Along with whatever other specific keybindings you want. It’s not emacs-level customizable, but it’s functional.
It’s actually pretty standard keybinding config stuff.
When macOS finally got a flexible screen capturing app (now bound to Cmd+Shift+5) Mac users were rightly very pleased. But we'd had that as the default, highly discoverable behavior on Plasma for more than a decade, and the equivalent on Windows was already old news, too.
Maybe it was just hyped too much, and maybe the similarities to Linux just put it in a sort of uncanny valley for me that spoiled what could have been fun. Maybe it was the pressure of trying to learn an OS while onboarding at a new job that stopped me from learning macOS at my own pace that really drove my frustration. But I was left feeling very disappointed by the much fabled UX and design of macOS.
Ahem, cough ... Mr Testa, its 4, not 5 for full-app screenshots. ;-)
Quicktime Player does this.
New Screen Recording → Capture Selected Window
The new GNONE screenshot tool is similar because it capurures everything as soon as you hit Print Screen, but it still forces you to decide what to save immediately. It would be nice if has an option to save everything so you can pick out what you want in post.
I also want something like this for audio. Record every audio stream on my machine as different tracks. Then I can select which ones I want later.
defaults write com.apple.screencapture location ~/Downloads && killall SystemUIServer
defaults read com.apple.screencapture locationIt's completely free and you can tweak various workflows and map them to key combinations. I've had a "manual screenshot -> optional editing -> upload to imgur/save to clipboard" workflow bound to a mouse button (Logitech G600) for over 5 years and use it multiple times a day.
I downloaded it through Steam but whatever other download options they have should auto-update just fine as well, I would guess.
I only see this now but apparently the program is open-source. Never even knew that.
I have Command + Shift + 4 configured to save to clipboard aswell now.
⌘⇧3: Full-screen screenshot
⌘⇧4: Select a screen region to screenshot
⌘⇧6: "Screenshot" of your TouchBar.
The last one is useful to me because I use the TouchBar as a tiny screen to output status and debugging information.
It creates a touchbar as a movable floating window on your desktop.
My favourite:
Take a full screenshot of your coworkers desktop - icons and everything. Include the taskbar.
Now rotate the screenshot left
Now set the taskbar to auto hide and rotate the screen settings (either on your monitor or the computer) to the right
Set that screenshot as your background
If you do it right it will LOOK like a normal desktop with taskbar and everything but the mouse will run in reverse and nothing of course will work well.
I must confess, I was pretty sure I’d learn nothing by clicking in. I was pleasantly surprised, thanks!
(Only works for horizontal or vertical measurements, unless you're good at doing pythagorean theorem in your head)
1. Open Preview.app.
2. Select the whole image and copy it [⌘-a ⌘-c].
3. Menu bar > Tools > Adjust Size then click the lock icon. Set to desired dimensions and save.
4. Paste the image over the distorted image. Do what you will with the extra space.
screencapture -ow /tmp/myapplication.pngIn your request, you must provide a file name every time. In the current method, you can just take the snap and not waste time with the filename unless you really just need/want to do it for reasons.
Sometimes i hate that windows have conditioned me to expect freeware.
2) macOS does the clipboard thing (helluva chord): shift + ctrl + cmd + 4
I often see JPEG screenshots in student reports (but not only), and they look really bad, as most of the time those are plots, drawings, and present very visible JPEG artefacts (e.g. colored noise around lines and text).
    #!/usr/bin/env bash

    if ! /usr/local/bin/adb devices | grep '\<device\>'; then
        echo "No phone connected!"
        exit 1
    fi

    phonemodel=$(/usr/local/bin/adb shell getprop ro.product.model | tr '-' '_')
    timestamp=$(date +"%Y_%m_%d_%Hh%Mm%Ss")
    output_file="Screenshot_${phonemodel}_${timestamp}.png"
    /usr/local/bin/adb exec-out screencap -p >$output_file

    #open -R $output_file # select in finder
open -a Yoink $output_file # show in yoinkIt remembers what you had set last time as well like capturing to clipboard and everything.
`defaults write com.apple.finder CreateDesktop -bool false` `killall Finder`
I wish more people would be annoyed by this, but they’re not, so Apple will never fix it.
defaults write com.apple.screencapture disable-shadow -bool true; killall SystemUIServer
CMD + Space Screenshot enter
You can do everything from here. CMD shift 4, CMD shift 5, etc are all accessible through here.